social

Celebrate Winter Homemade Christmas Card


Silver Post Medal for All Time! 408 Posts
December 1, 2014

finished card
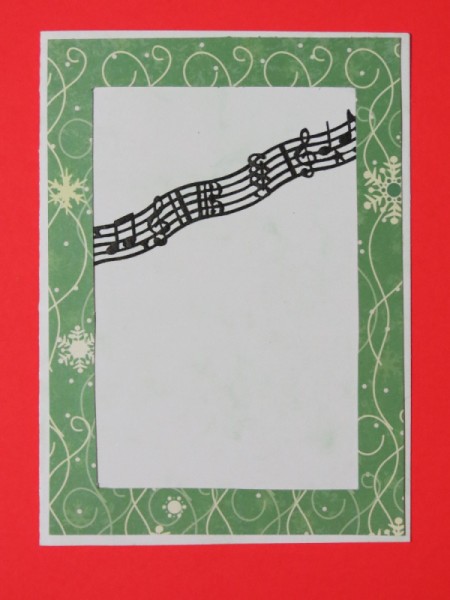
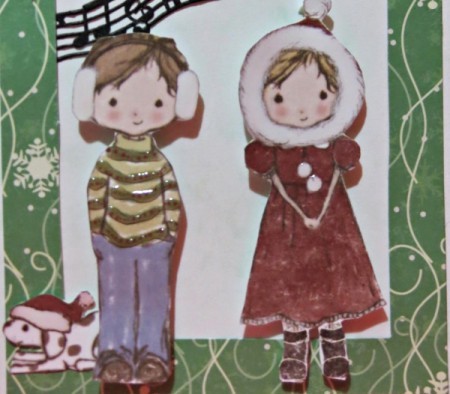
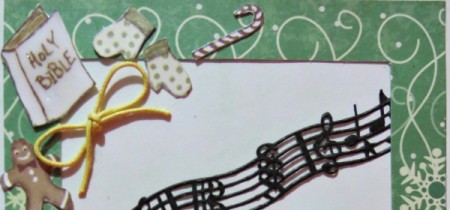
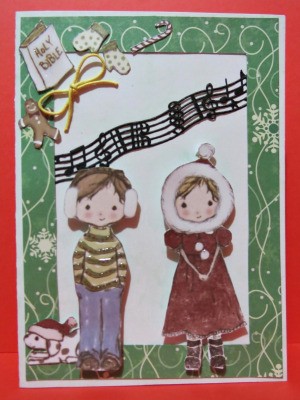
This Christmas, turn some of your never-been-used scrapbook paper into unique Christmas cards, and share some special memories with your loved ones. In this example, "Celebrate with Jack and Jill scrapbook paper" was used, but any other paper with a suitable theme will work. Be creative and have fun!

Advertisement


Total Time: 1 hour, including drying time for 3D gloss

Yield: one card

Supplies:

  • 5.6 x 8.2 in light green marbled cardstock
  • 12 x 12 in Celebrate with Jack and Jill scrapbook paper, Code #842857 from Prima Marketing Inc
  • 12 x 12 in Glitter Paper Christmas Stripes scrapbook paper (product code #MC005) from www.upikit.com
  • 14mm wide black musical notes self-adhesive decorative lace tape
  • 0.1mm wide waxed yellow colored cord
  • 3D self-adhesive foam squares
  • Docrafts clear 3D gloss pen
  • pencil
  • ruler
  • scissors
  • clear-drying craft glue (such as Bostik Clear)

Steps:

  1. Score the 5.6" x 8.2" light green marbled cardstock in half to create a card sized 5.6" x 4.1."
  2. Cut a piece sized 3.7" x 5.4" from the Glitter Paper Christmas Stripes. Now take this piece and cut out the inside, leaving a space of 0.4" from the outer edges of this piece to make a "frame."
  3. With the fold at the left, glue a strip from the decorative lace tape to the front of the card. The frame should be able to cover the ends of the lace tape, so measure carefully before gluing it to the front of the card.
  4. Advertisement

  5. Glue the frame to the front of the card.
  6. step 4
     
  7. Cut out suitable figures from the Jack and Jill scrapbook paper ~ for this project, a boy and girl dressed in winter clothes, as well as a dog were used. Also cut out Christmas symbols from the scrapbook paper, such as a Bible, a candy cane, a gingerbread, and a pair of gloves.
  8. Highlight certain parts of the figures with the clear 3D gloss. Gently pop any air bubbles that might appear with a pin. Allow to dry thoroughly.
  9. Glue the dog to the bottom left corner of the card.
  10. Use 3D self-adhesive foam squares to affix the boy and girl to the front of the card.
  11. closeup of Jack and Jill
     
    Advertisement

  12. Glue the Christmas symbols in the top left corner.
  13. step 9
     
  14. Make a small bow with the waxed cord and glue it below the Christmas symbols in the top left corner.
  15. finished card
     
Comment Pin it! Was this helpful? 5
In This Page
Categories
Crafts CardsJune 27, 2019
Pages
More
🎃
Halloween Ideas!
Instagram
Contests!
Newsletters
Ask a Question
Share a Post
Sub-Categories
AdviceBaking TipsBooksBoxing DayBudgetCardsCharitiesChristmas RecipesCleaningCooking TipsCraftsDecoratingDietingGamesGift WrappingGiftsHelpful HintsHosting TipsLinksMiscellaneousMy Frugal HolidayOrganizationParentingPartiesPhotosPlanningSanta TipsShoppingStocking StuffersTraditionsTravel
Published by ThriftyFun.
Desktop Page | View Mobile
Disclaimer | Privacy Policy | Contact Us
Generated 2022-10-12 16:07:06 in 4 secs. ⛅️️
© 1997-2022 by Cumuli, Inc. All Rights Reserved.
https://www.myfrugalchristmas.com/Celebrate-Winter-Homemade-Christmas-Card.html