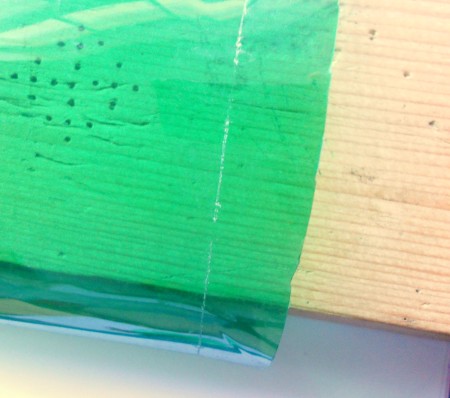
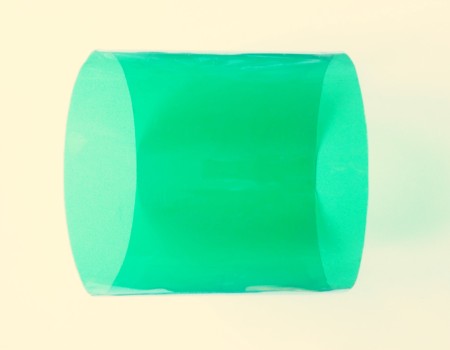
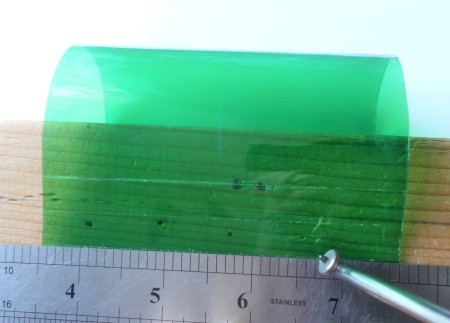
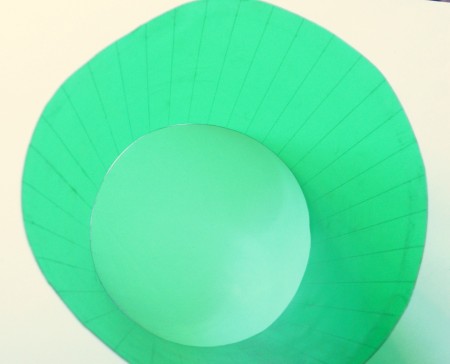
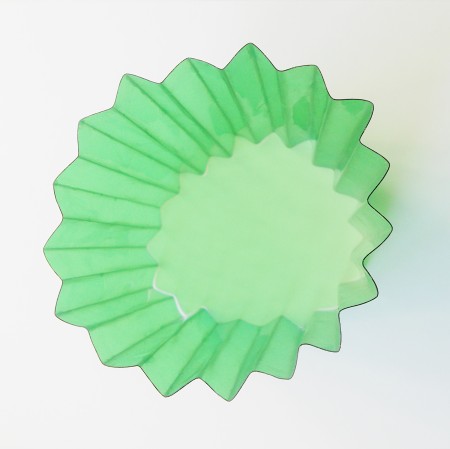
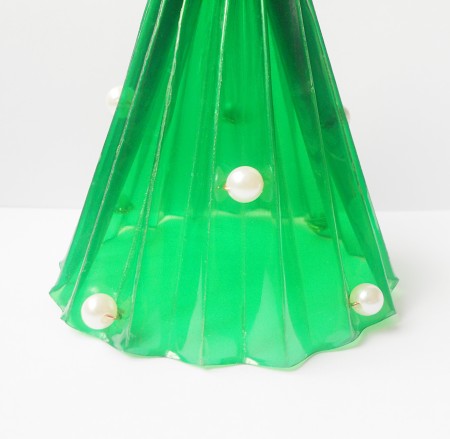
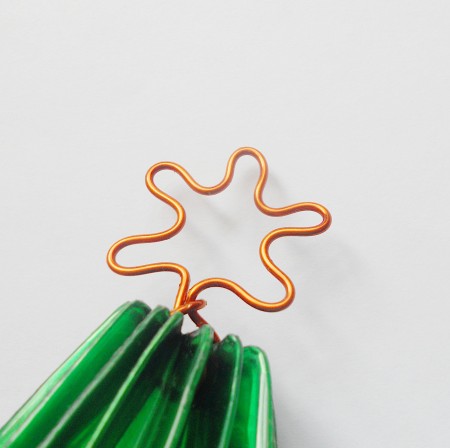
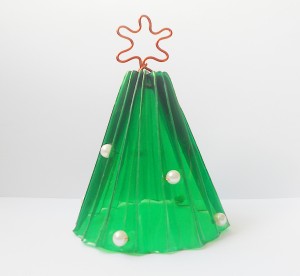
 Don't spend a lot of money on Christmas décor, rather use what you have at hand to create it. I figured out how to make this wonderful Christmas tree from a plastic bottle. I used a green plastic bottle, but you can use it in a different color, as Christmas trees don't have to always be green. You can also use any other decoration for such a Christmas tree, for example crystals, beaded garlands or even buttons that you can sew with threads if you don't have a suitable wire. So this project will cost you almost nothing. I am the author of this idea and I really like the result. I hope you like it too.
Total Time: 1 Hour
Yield: Christmas tree about 5.5 inches high, base width about 4 inches
Supplies:
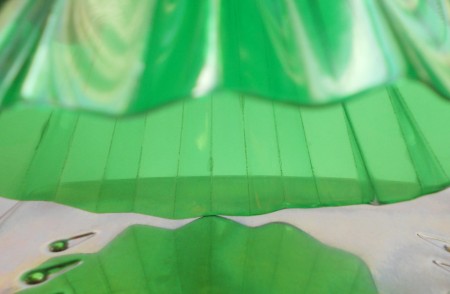
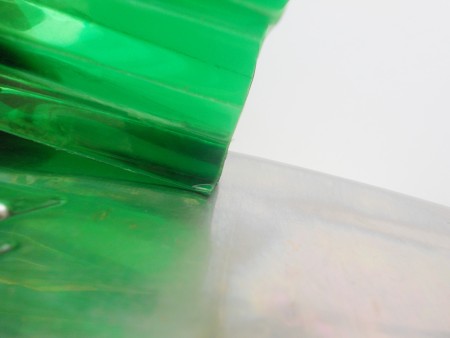
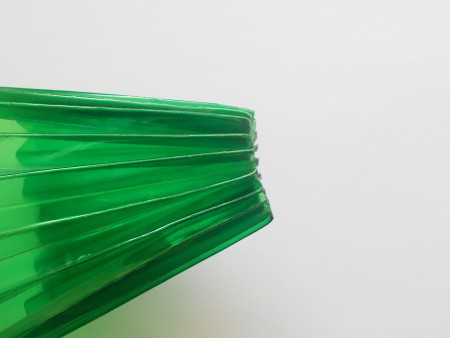
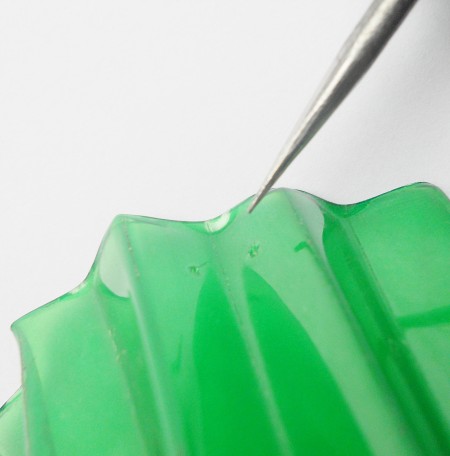
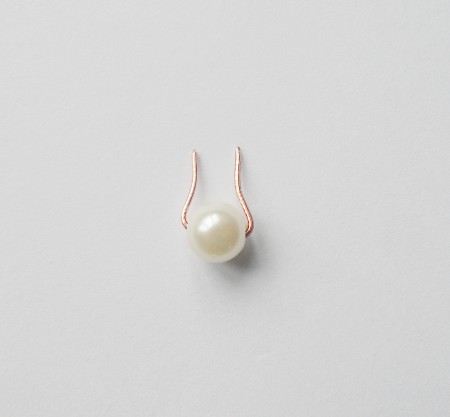
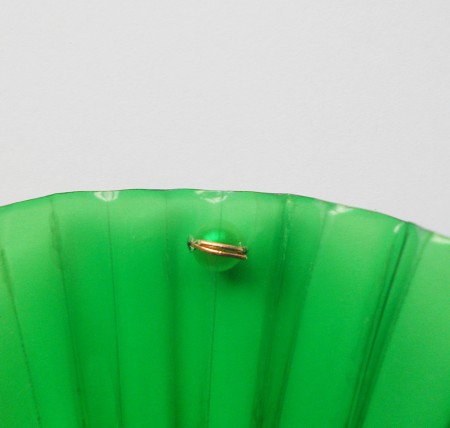
Steps: