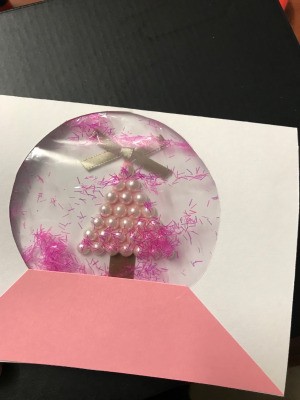
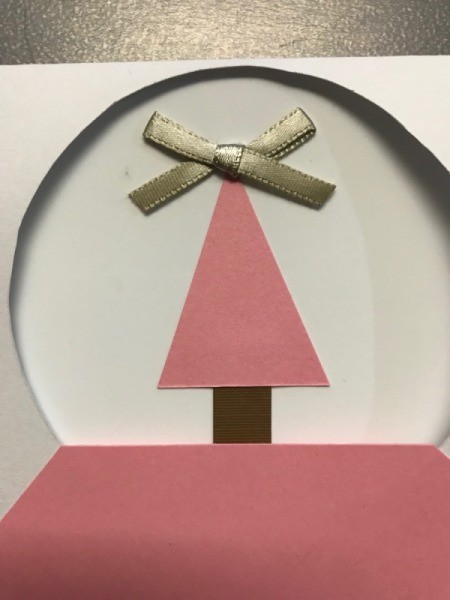
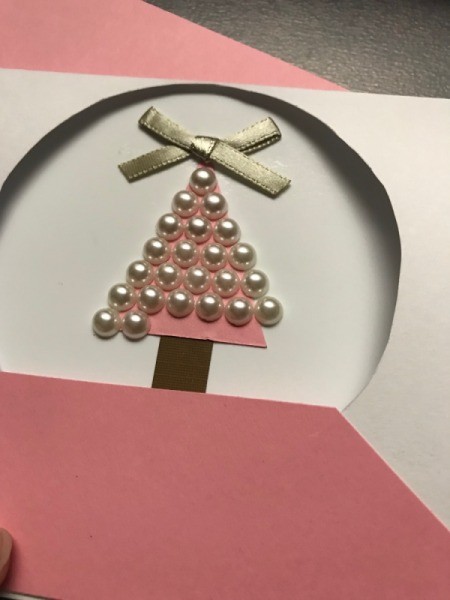
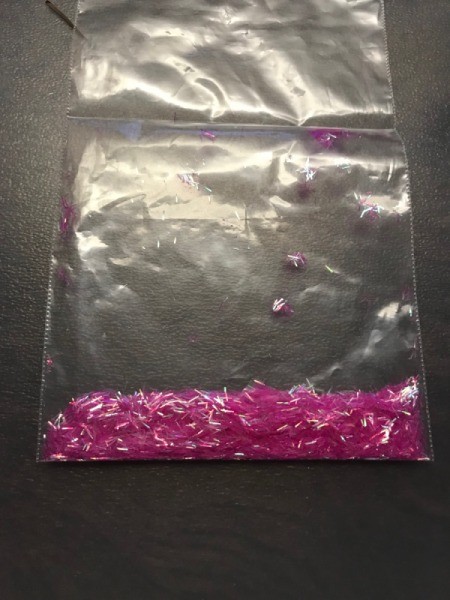
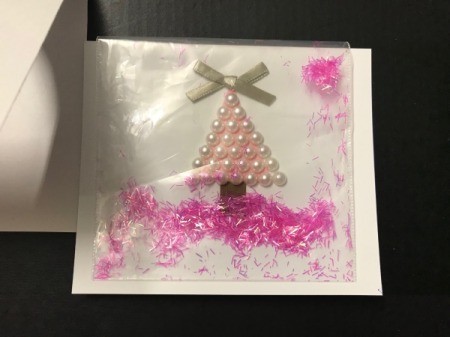
 I made this Christmas snow globe card for my sister. It is extra girly, but you can alter the concept with snow flakes, stars, or other confetti/glitter.
Total Time: 30 minutes
Supplies:
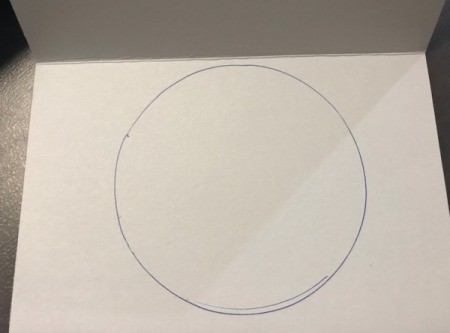
Steps:


Add your voice! Click below to comment. ThriftyFun is powered by your wisdom!