These colorful holly leaves are sure to brighten up your tree this year.
Advertisement
Supplies:
felt
cardboard (food packaging)
scissors
embroidery floss
needle
Steps:
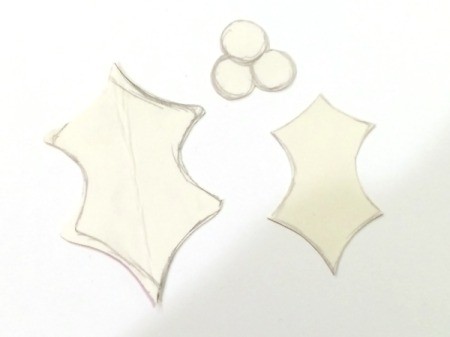
Fold the cardboard in half and draw half of the holly leaf along the folded edge to create a symmetrical shape. Make a second leaf that is slightly smaller. Also draw a cluster of berries. Cut out the templates.
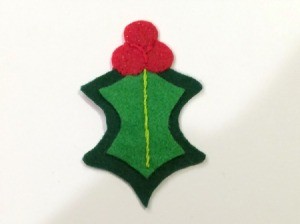
Use rolls of tape to hold the templates to the felt. Stitch the smaller leaf to the larger one using a backstitch down the middle. Attach the berries using red embroidery floss. You can add dimension to the berries by stitching the shapes of the berries in the middle.
If you want to use these as traditional ornaments you will need to attach a loop of ribbon to the top for hanging them. Have fun!
 These colorful holly leaves are sure to brighten up your tree this year.