Make this miniature Christmas topiary tree to decorate your Christmas table this year.
Approximate Time: 1 hour
Supplies:
- one polystyrene ball with a diameter of 3 inches
- a 7.2 inches tree branch pencil (see http://www.greenplanetparties.com/item_277/Tree-Branch-Pencils.htm for a possible supplier)
- one small unglazed terracotta flower pot, 3 inches high, and with a diameter of 3 inches at the top
- a small packet of moss
- bunch of 12 shiny red round cherries, individually wired, available from a florist
- thin green florist wire (24, 26, or 28 gauge will work the best)
- 15 inches of 7/8 inch-wide four striped satin edge organza ribbon ~ I used ribbon in a color known as Old Willow, with gold stripes
- pair of standard scissors
- pliers
- soil
- small white decorative garden pebbles
- glue suitable for use on polystyrene
- strong bonding glue
- a small bowl with water
Instructions:
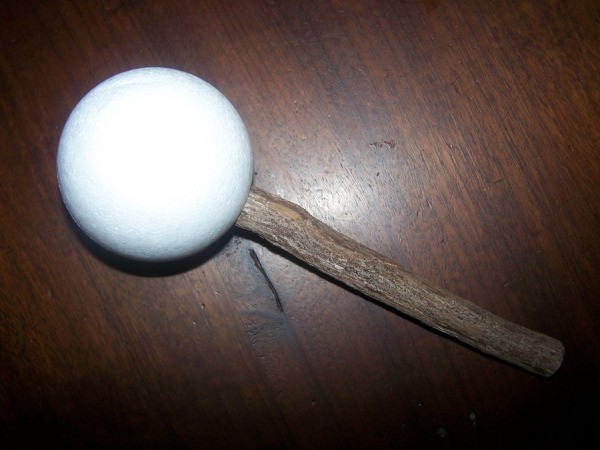
- Insert sharp end of the tree branch pencil into the polystyrene ball to make a hole. Remove pencil from the hole, put a few drops of polystyrene glue into the hole and put the pencil into the hole again. Allow the glue to dry thoroughly.
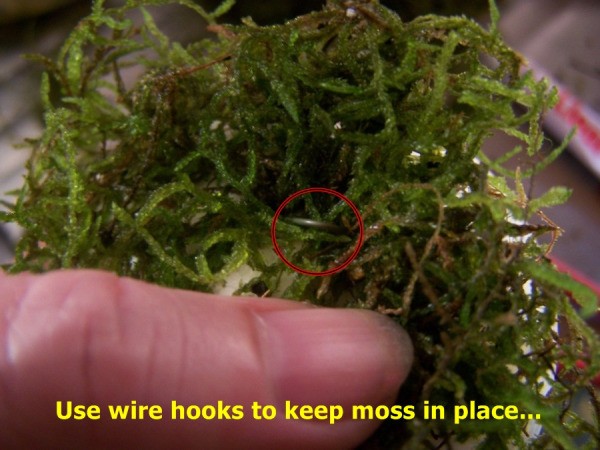
- Use the pliers and cut the wire into 2.4 inch strips. Bend each wire strip to make small wire hooks. You need to make approximately 30 wire hooks.

- Put moss into the water, squeeze excess water out and then affix moss around the polystyrene ball. Make sure that the polystyrene ball is thoroughly covered and use the wire hooks to keep the moss in place.
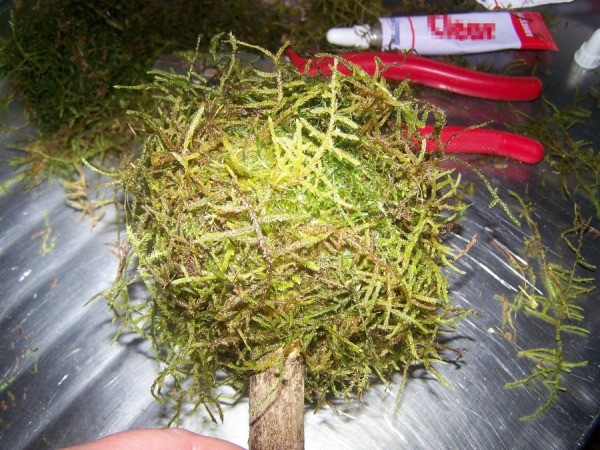
- Once the whole ball is covered, cut off any protruding pieces of moss to make the tree neat.
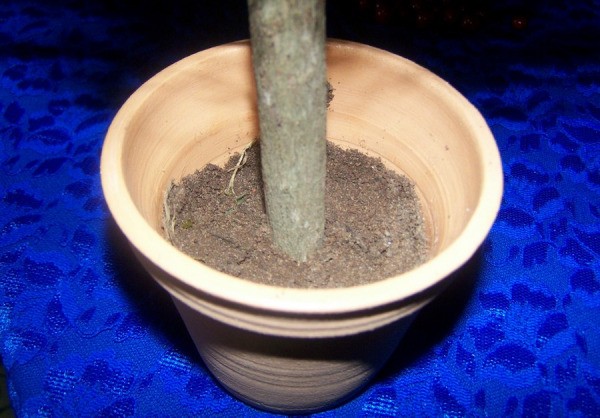
- Fill half of the pot with soil.
- Push the bottom part of the pencil into the soil and press the soil down firmly around the pencil, so that the "tree" will stand upright in the pot.
- Fill the rest of the pot with the small white decorative garden pebbles.
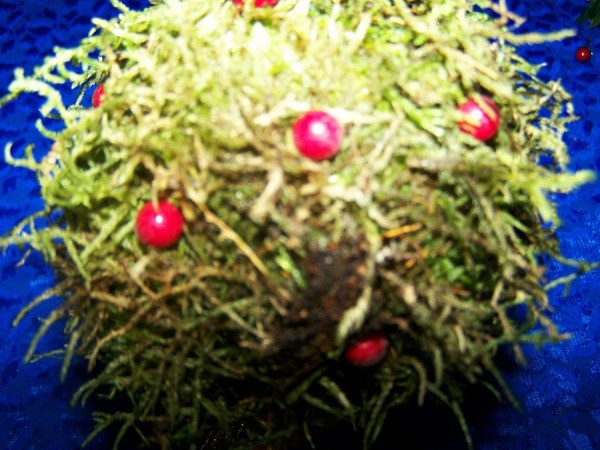
- Use the pliers to cut the wires of the cherries shorter, and then insert the cherries into the tree.
- Tie the ribbon around the bottom of the tree and make a bow.
- Add a few drops of strong bonding glue to the knot of the bow, so that the bow won't come loose.
Photos included:
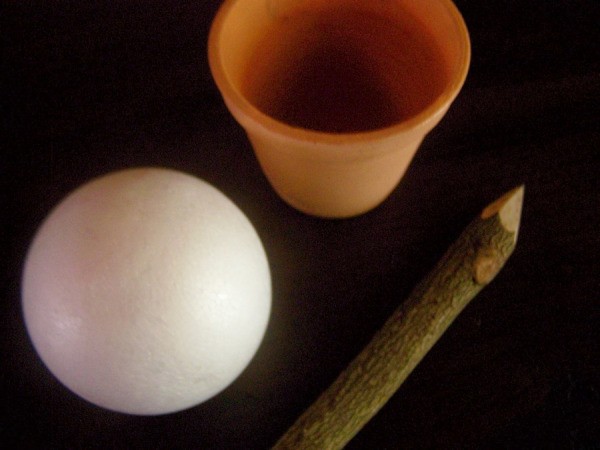
Photo 1: The polystyrene ball, terracotta pot and tree branch pencil used for this craft.
Photo 2: Insert sharp end of the tree branch pencil into the polystyrene ball.
Photo 3: Cut the wire into strips and bend each wire strip to make small wire hooks.
Photo 4: Use the wire hooks to keep the moss in place.
Photo 5: Cover the whole ball with the moss.
Photo 6: Fill half of the pot with soil.
Photo 7: Push the bottom part of the pencil into the soil.
Photo 8: Insert the cherries into the tree.
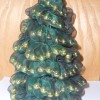
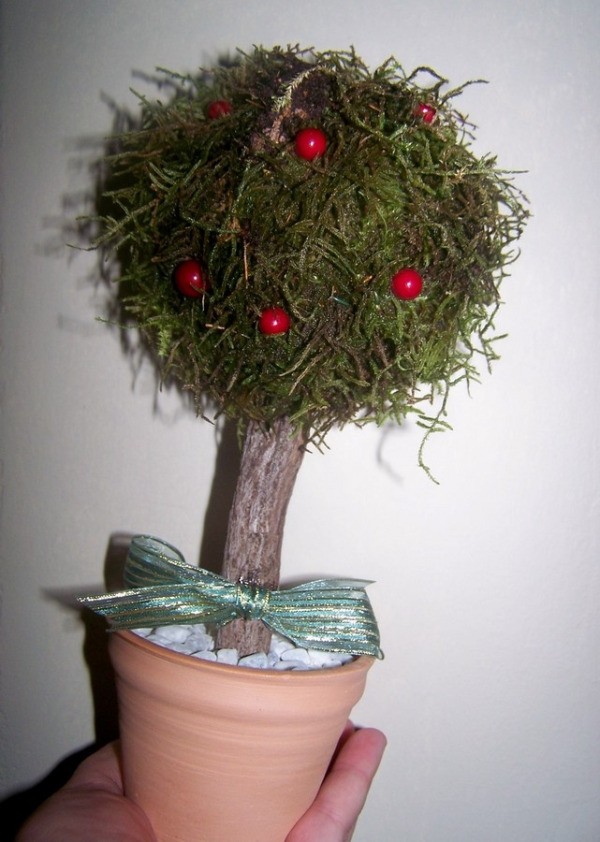
Photo 9: The completed project.
By Benetta from Pretoria, Gauteng