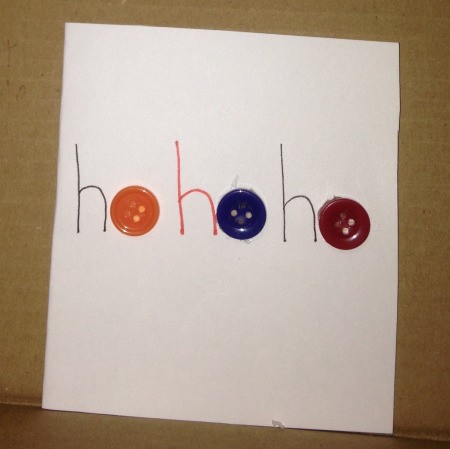
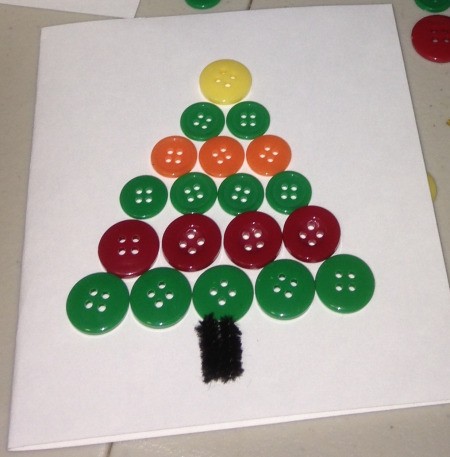
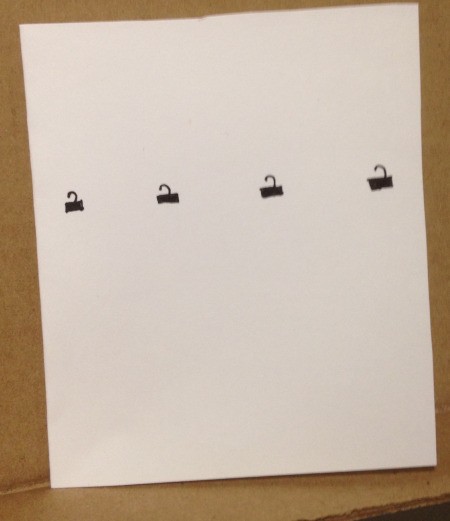
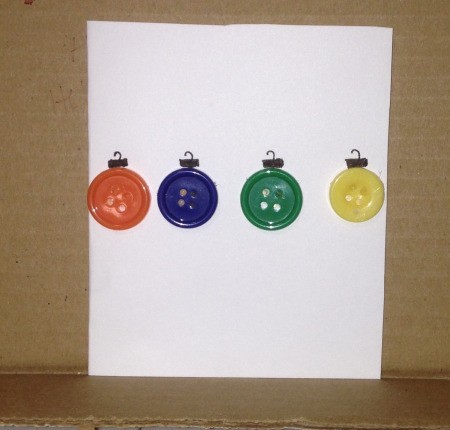
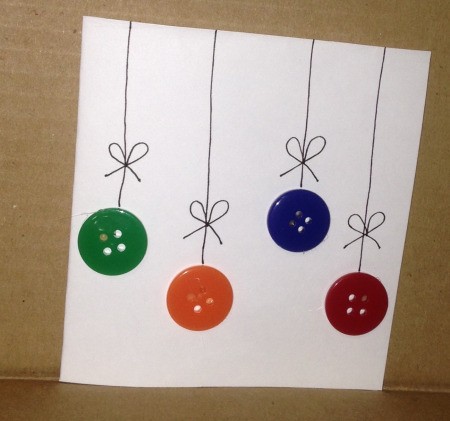
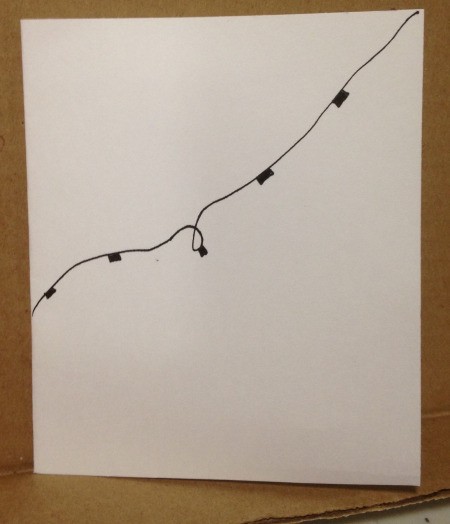
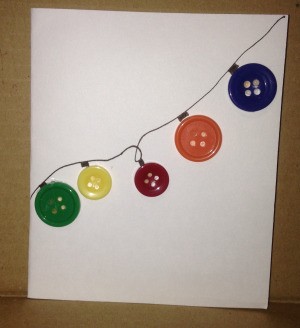
 One of my favorite parts of Christmas is decorating Christmas cards! This year, I found some button card ideas that were too adorable not to try. All of the ones I attempted were really easy to do and turned out great! I think even older kids would enjoy making these cards. A personal touch is always nice. I know I treasure and keep any card I receive, if I can tell someone spent time on it. My favorite of these is probably the dangling ornaments or strand of lights. I like the simplicity of only having the button decor on the front. Then I go crazy on the inside with the message and stickers!!
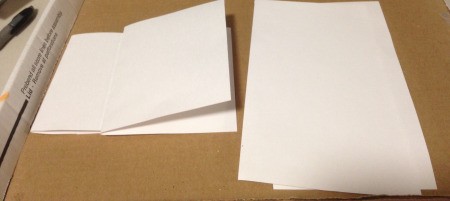
Total Time: 20 minutes
Yield: 5 cards
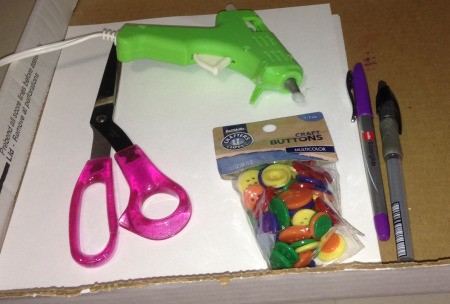
Supplies:
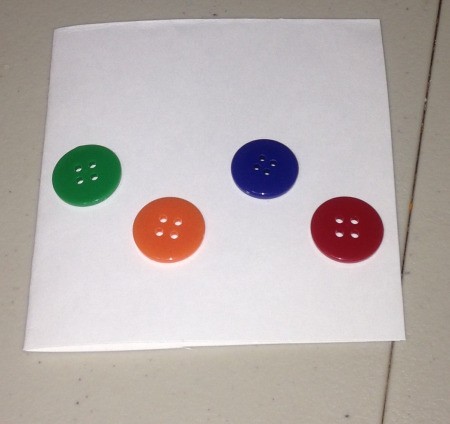
Steps: